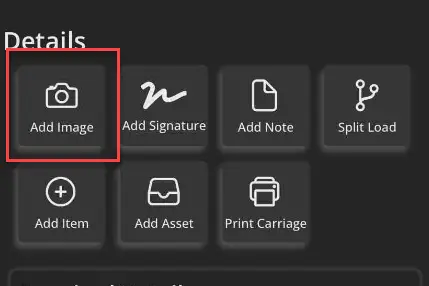
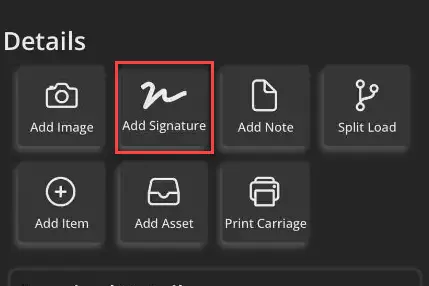
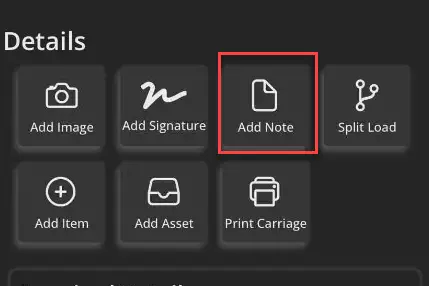
Add allowed details to your Eticket by using the Details section of the Eticket. Details include; Add Image, Add Signature, Add Note, Split Load, Add Item, Add Asset and Print Carriage. Only details allowed by the job will appear in this section.
Follow these step-by-step instructions that include screenshots for help.
- Add Image will allow you to add images that are not required images.

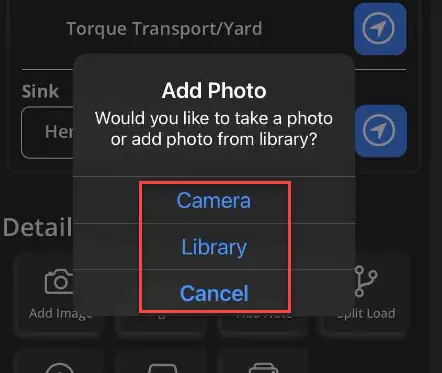
Select Add Image, then the source by which the image is to be added.

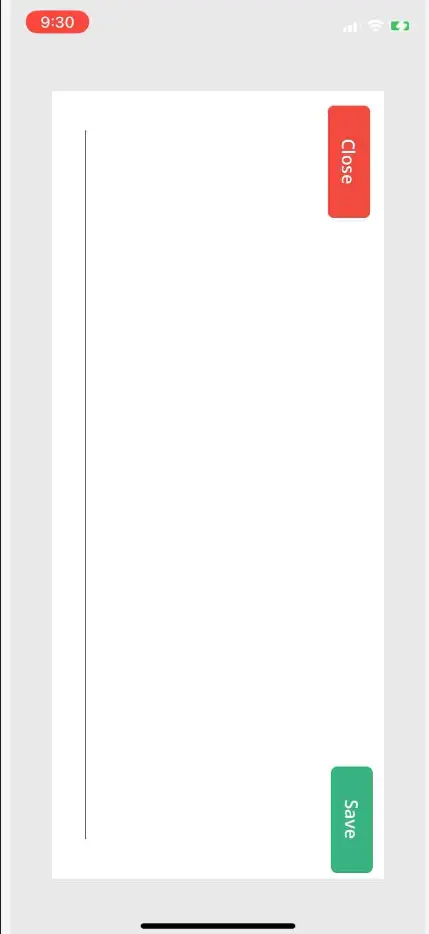
- Add signature will allow you to add required and allowed signatures.

- Add Notes will allow you to add notes to your Eticket.

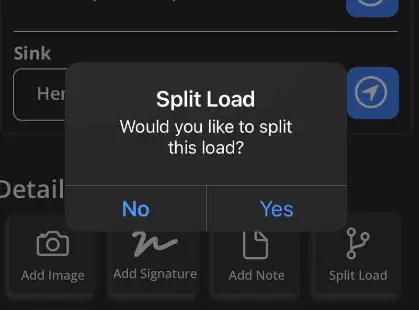
- Split Load will allow you to divide your load onto another Eticket.

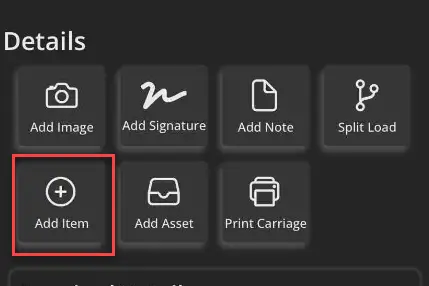
- Add item will allow you to add billable items to your Eticket.

- Add asset will allow you to add an asset to your Eticket.

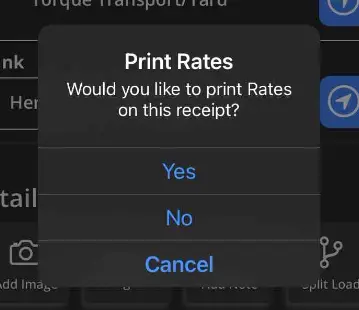
- Print Eticket will allow you to print the details of your Eticket.