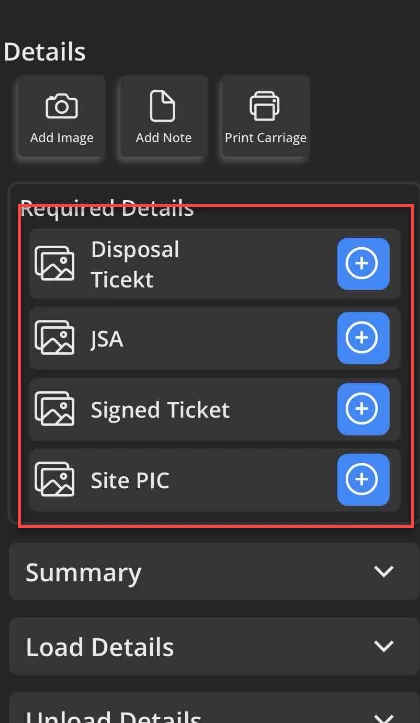
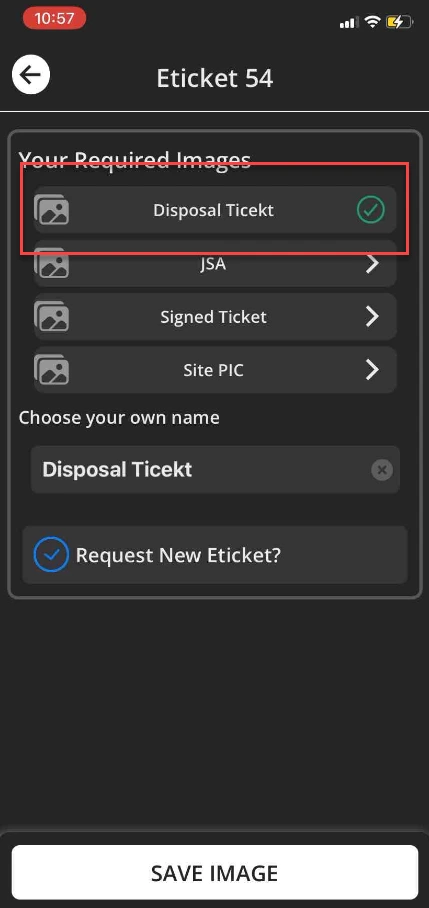
Add an image to your Eticket from the Eticket screen, by selecting the Add Image icon for not required images or by selecting the Image Name for required images.
Follow these step-by-step instructions that include screenshots for help.
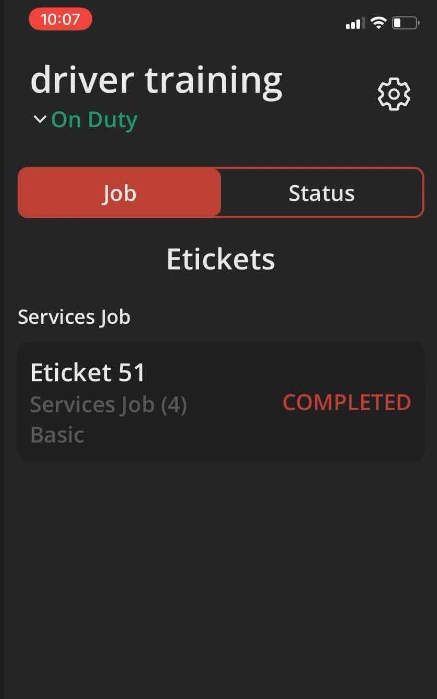
- Select your desired Eticket.
- If it is a required image, select the plus sign next to the required image name.
- If it’s not a required image, select Add Image.
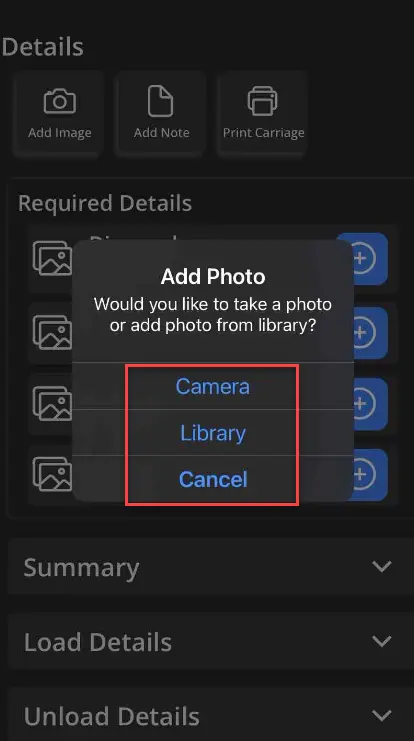
- Select where the picture will load from, in this demonstration, we will select camera.
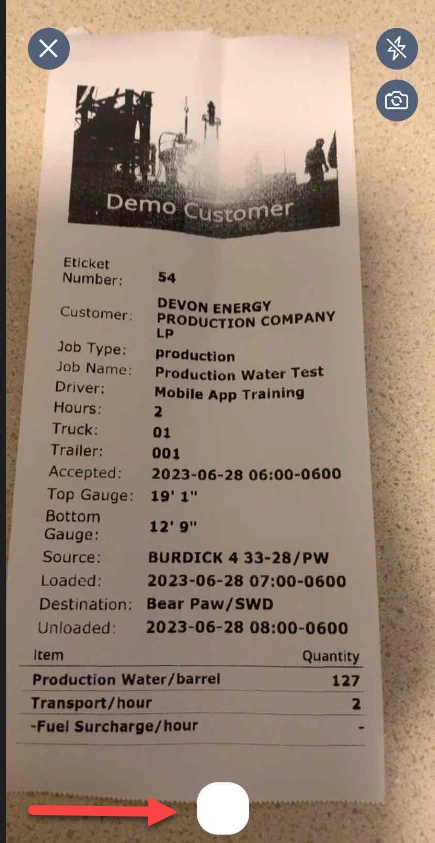
- Take the picture by pressing the white square at the bottom of the screen.
- On the Image Preview screen, select Save Image.
- A green check mark will appear next to the required image nam
-
Repeat the above steps until all required images are complete.
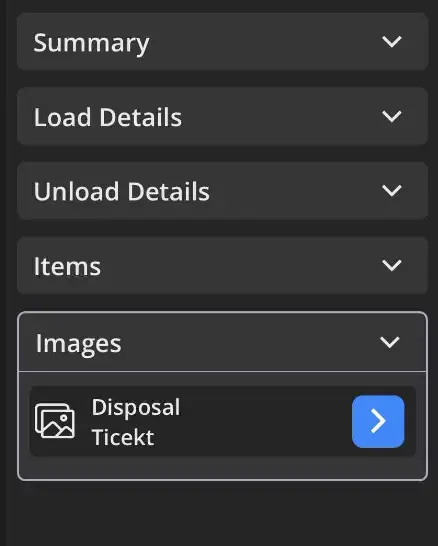
- To see your images, see the image section at the bottom of the Eticket.
