Once selecting your supplier, going on duty and selecting your truck and trailer, you are ready for dispatch to issue you work. The following are steps to enter the load data to your eTicket.
Follow these step-by-step instructions that include screenshots for help.
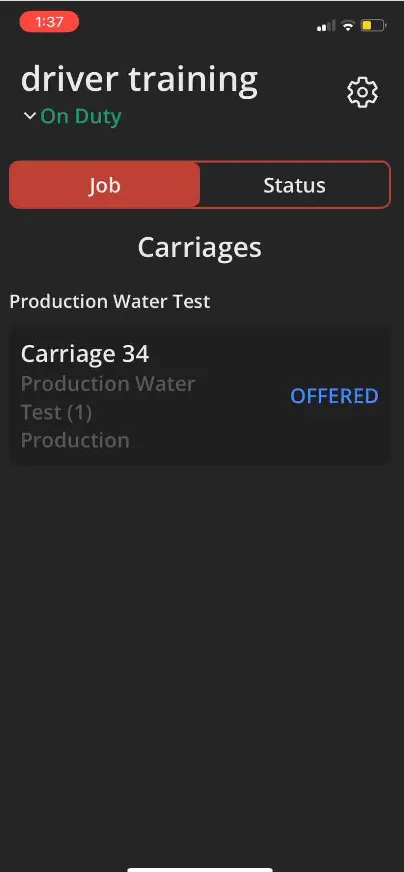
- There are two ways to group your jobs, by Job or by Status. Select which view is preferred.

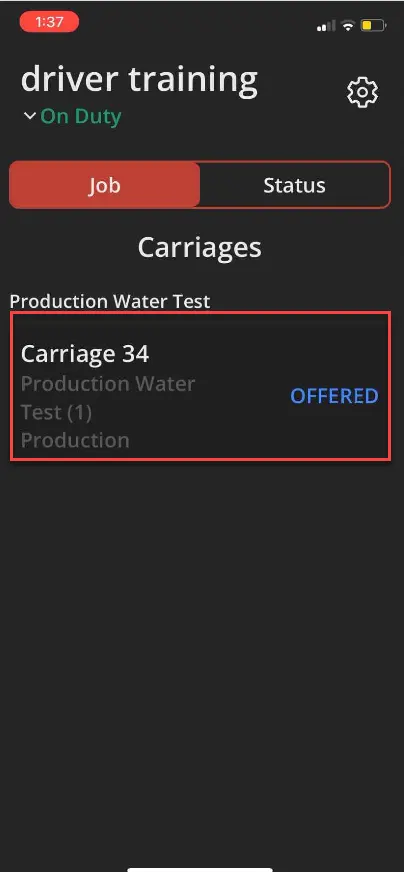
- Tap on the eTicket to be worked on.
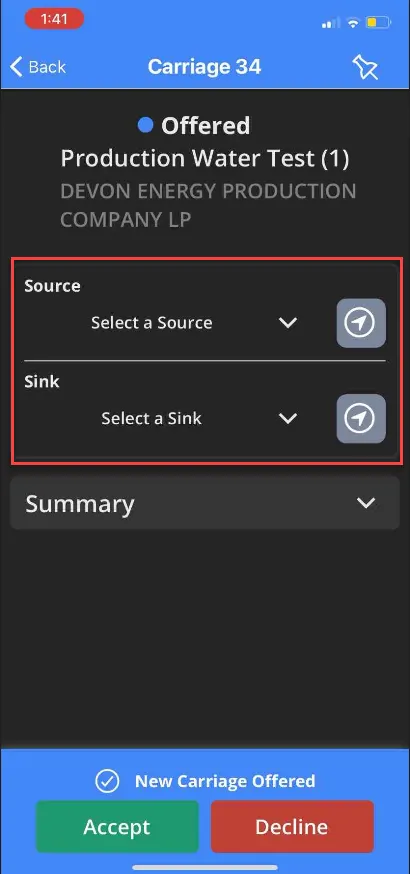
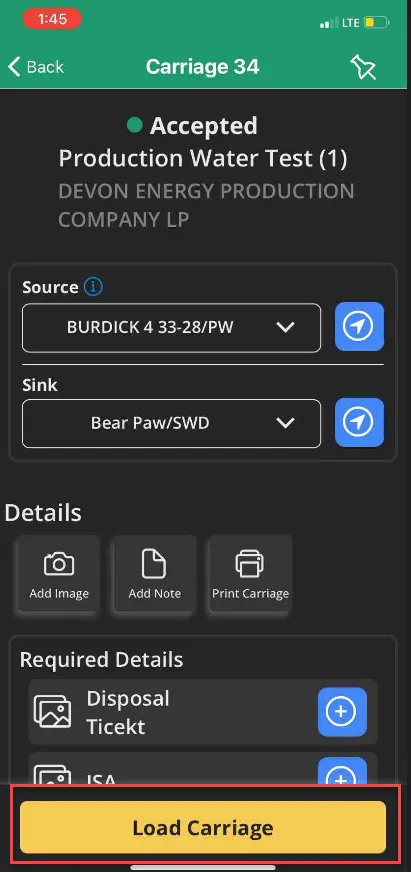
- Enter your Source and Sink location by selecting the down arrow and choosing from the list provided.

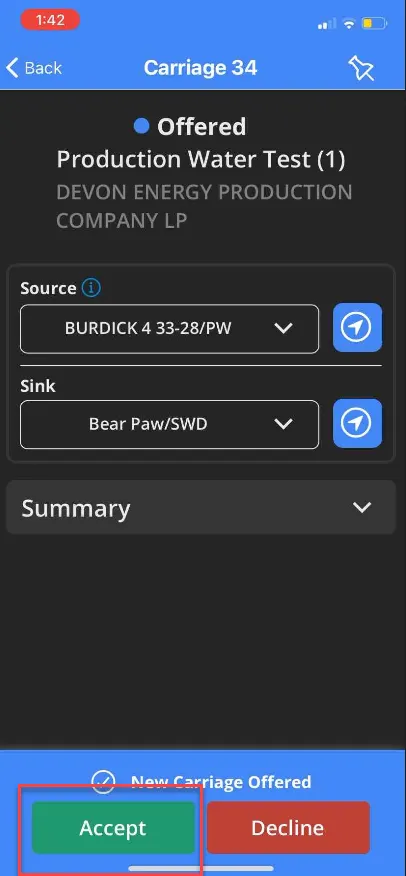
- To Accept, select the green Accept button at the bottom of the page.

- When at the source and ready to load, select Load eTicket at the bottom of the page.

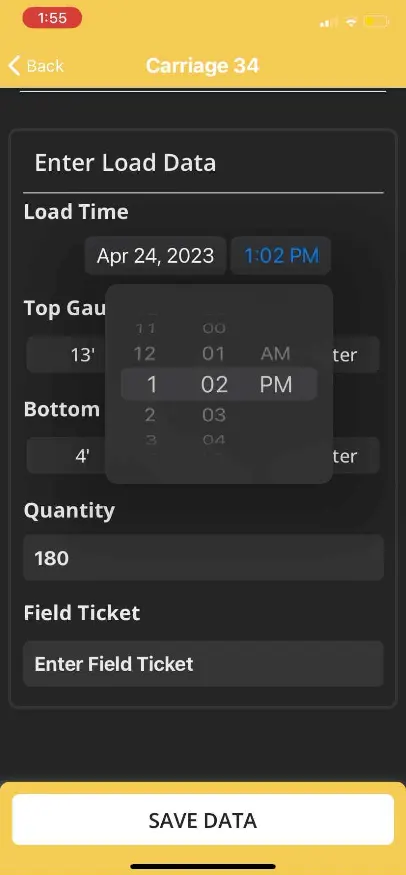
- Enter the load data by selecting each section and entering the correct load data. If load data needs to be changed, select the field that needs changing and use the spinners provided to change the data. Do this for each section as required by the job; Load Time, Top Gauge, Bottom Gauge, Quantity and Field Ticket.

-
Select Save Data.
-
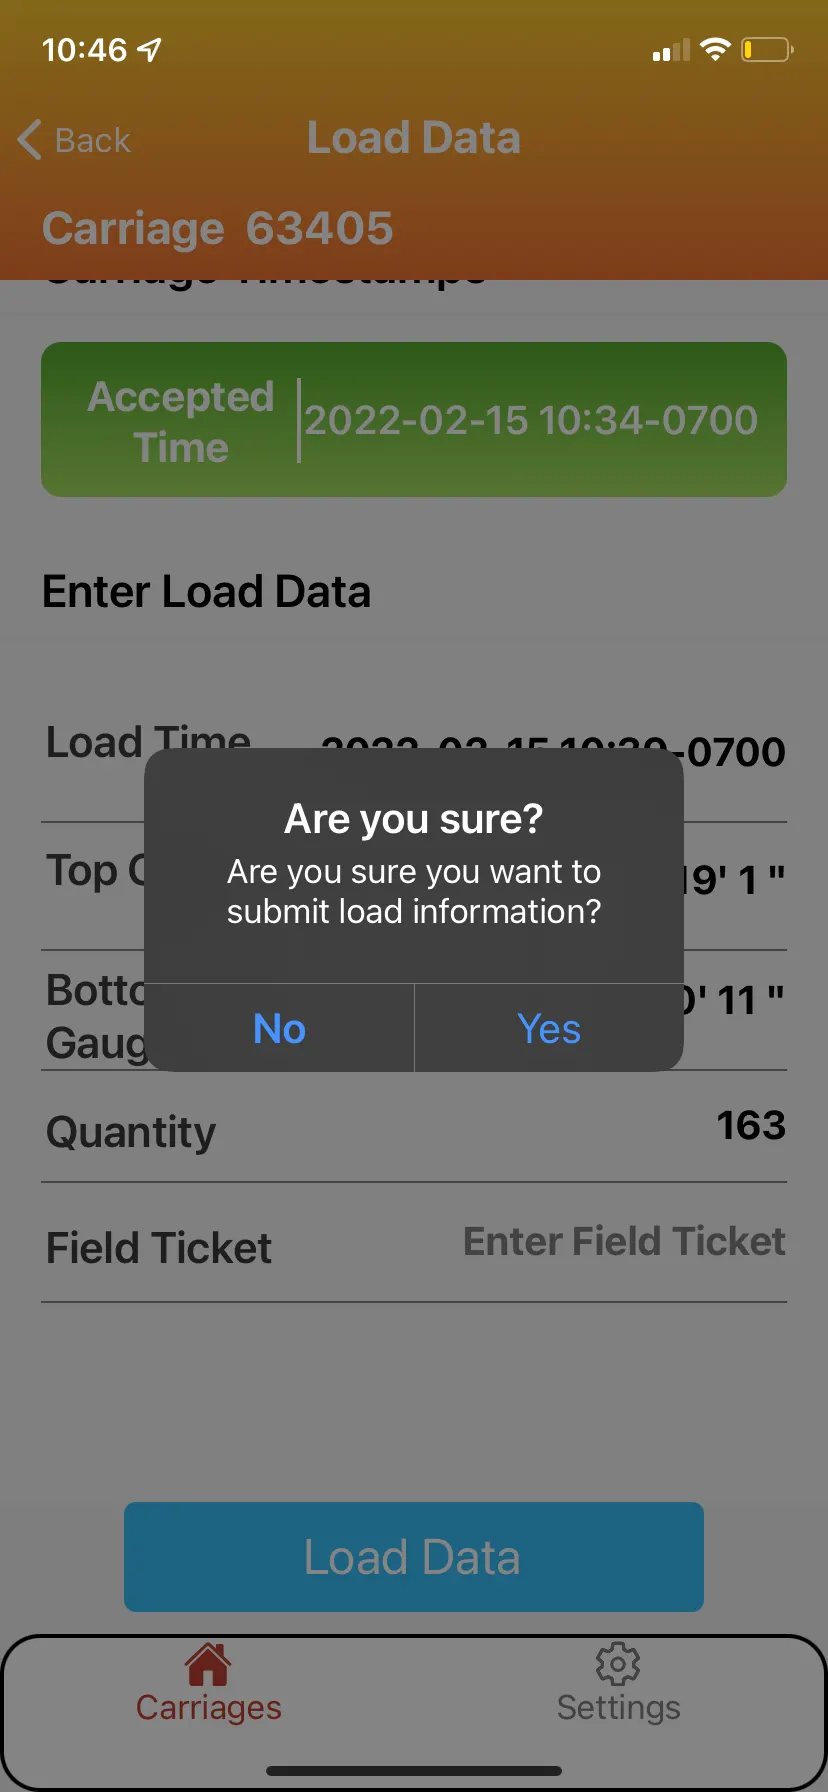
When finished entering the load data, select Load Data in the blue box at the bottom of the screen.
-
Confirm submitting the load data by selecting Yes.

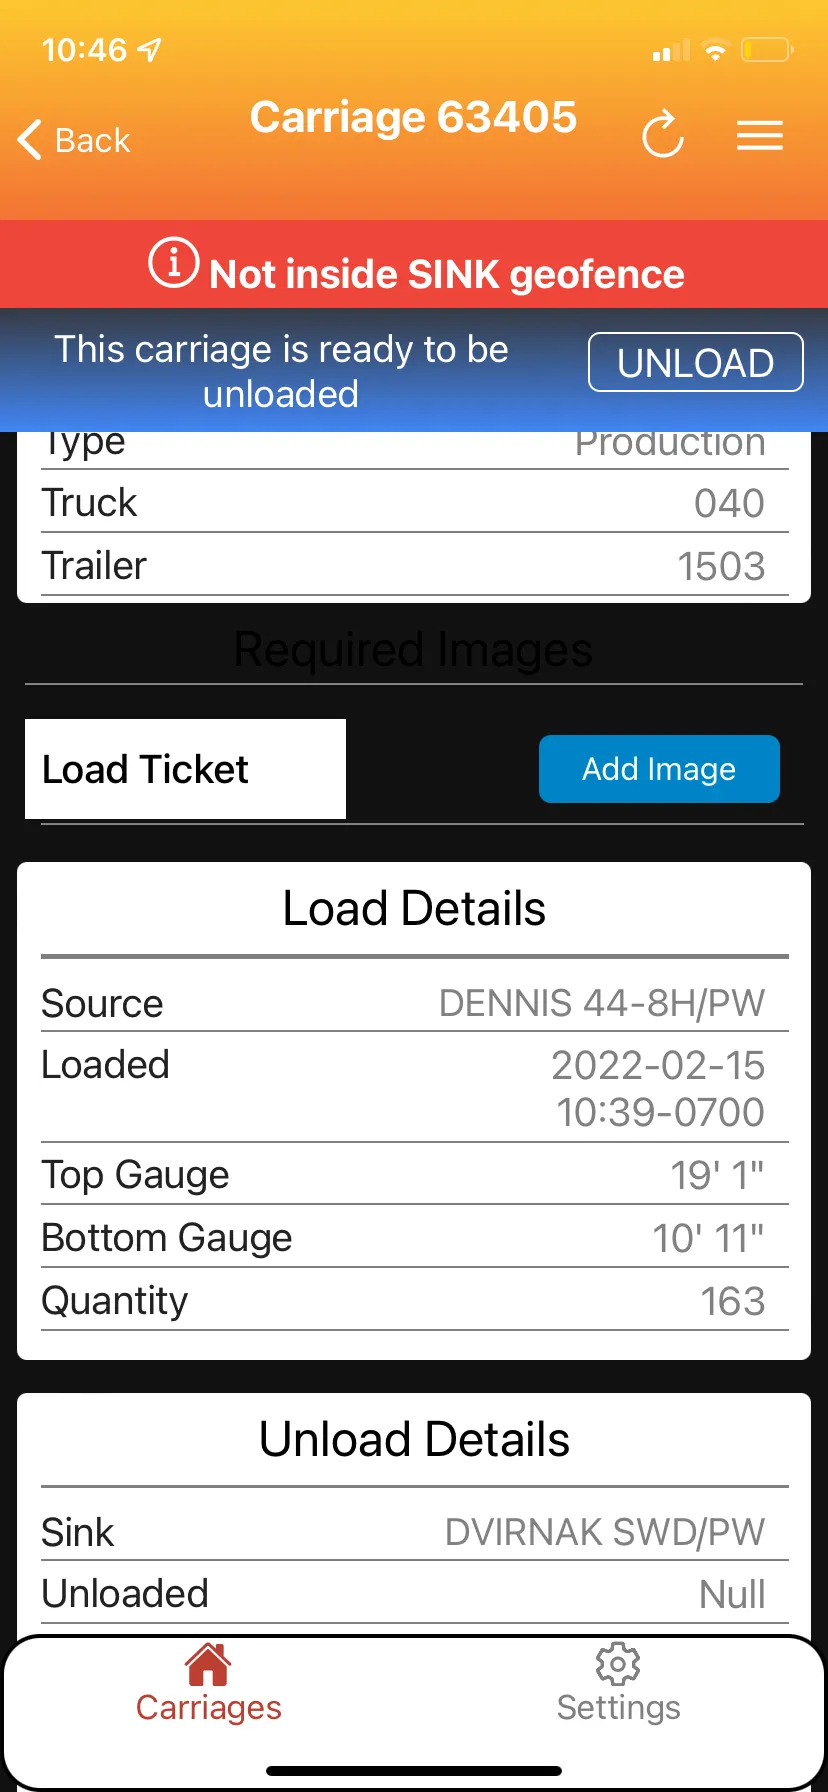
- Your carriage is ready to unload. Notice the banner at the top of the page has turned to blue and an unload prompt is now available.
- Select Unload.
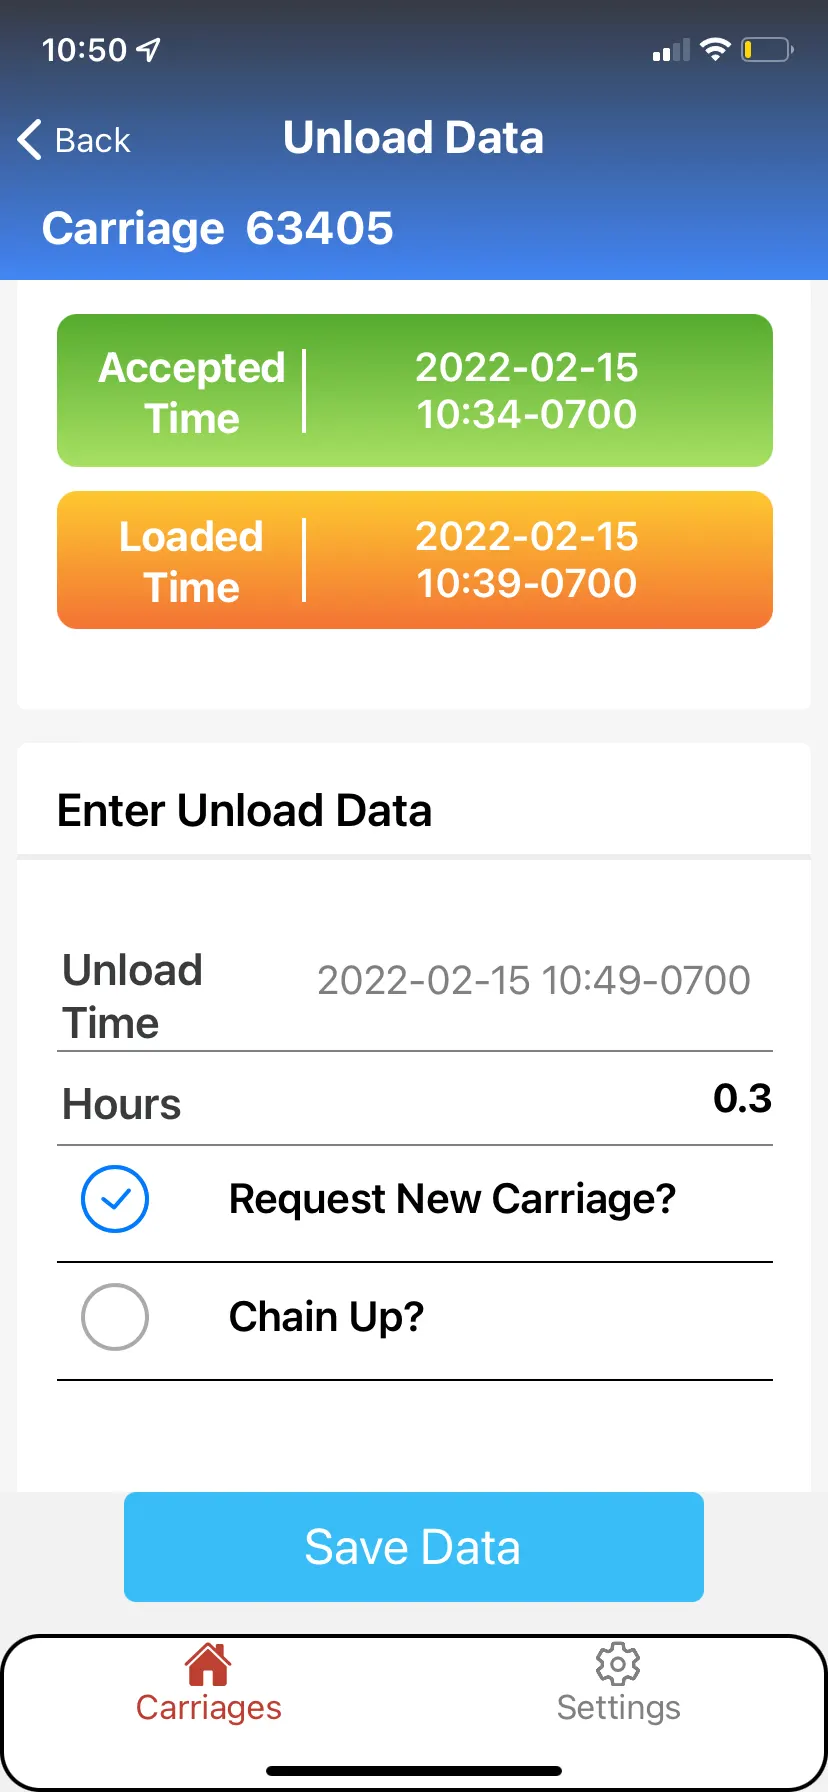
- Enter Unload Data in the same manner as entering your load data.
- Select Save Data.
-
Confirm your unload information by selecting Yes.
-
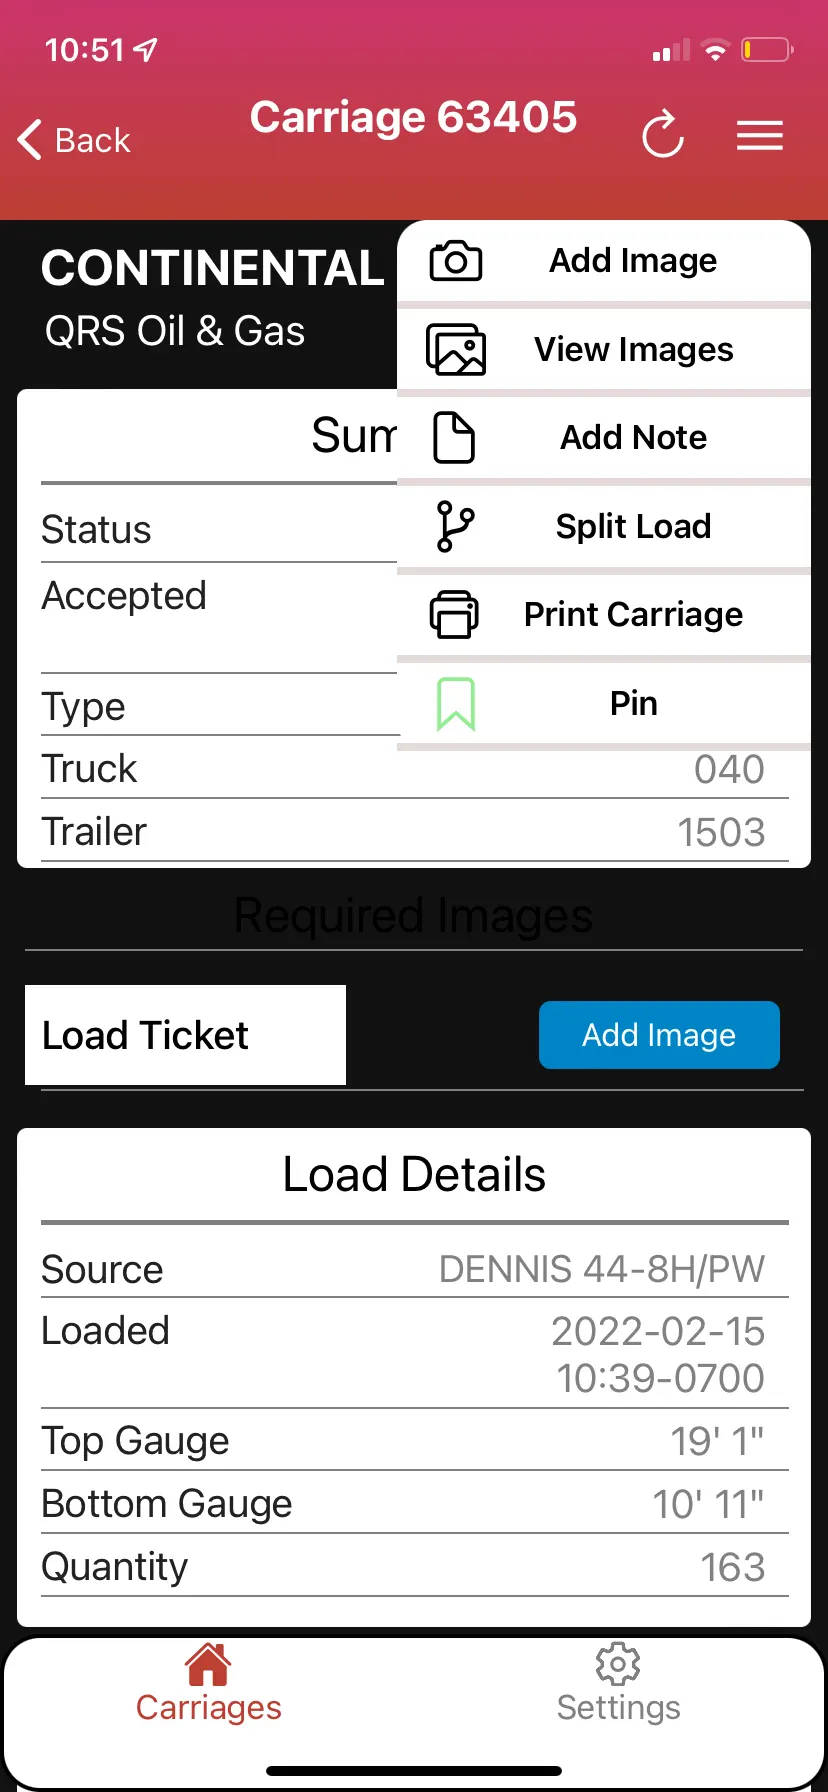
In this example, we need a Load Ticket. Select the three lines in the upper right corner.
-
Select Print Carriage.
-
Confirm the option of adding rates to the receipt.
-
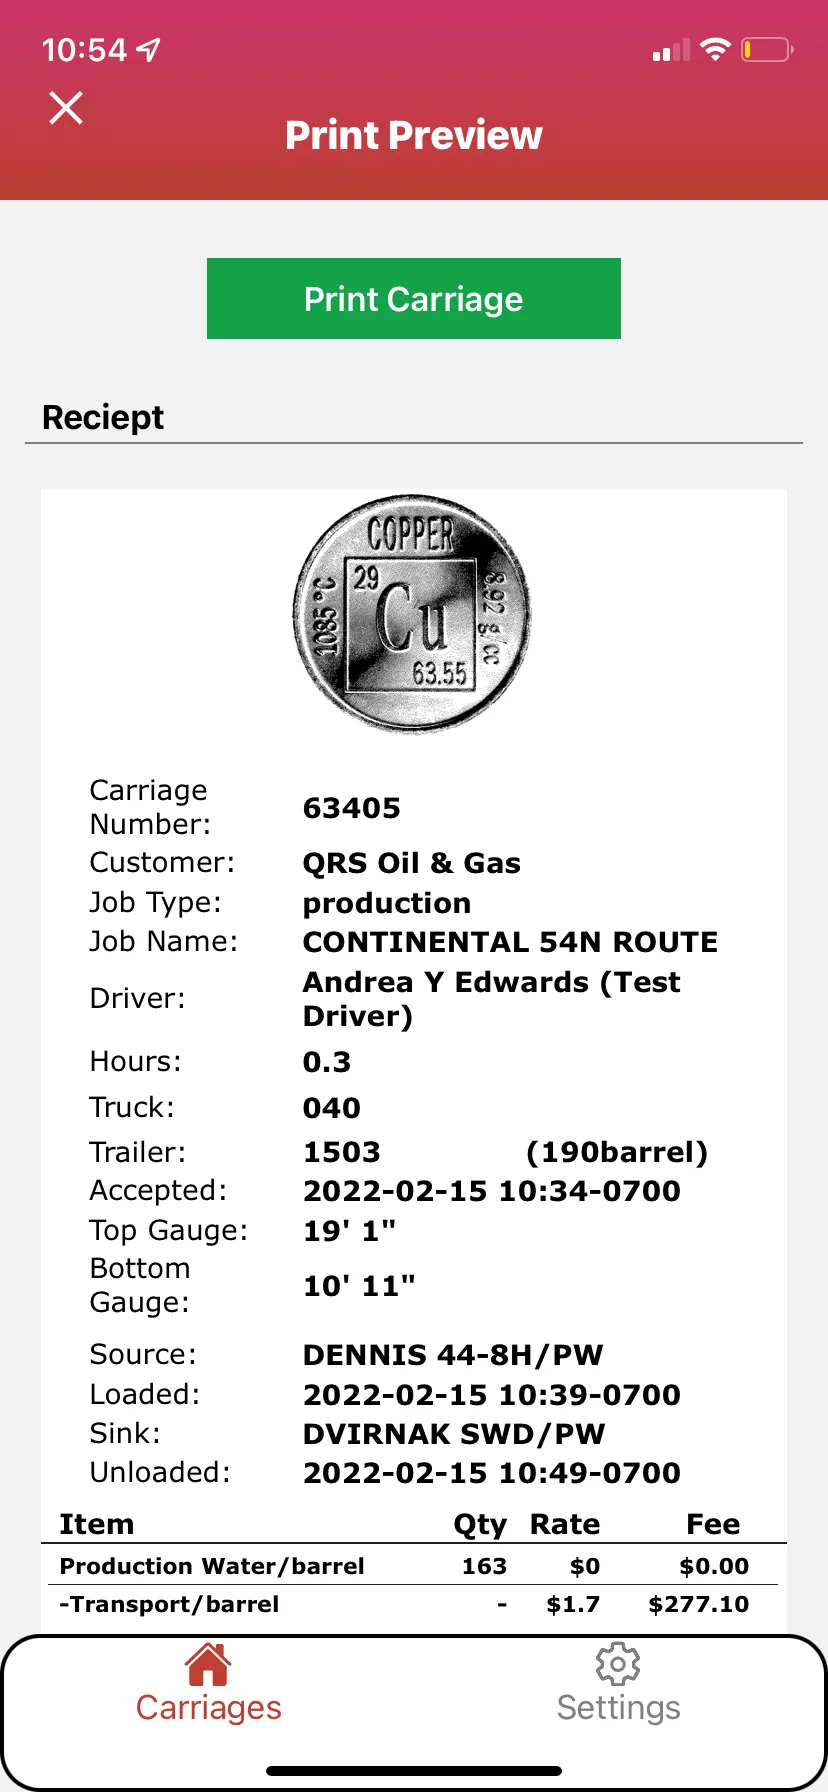
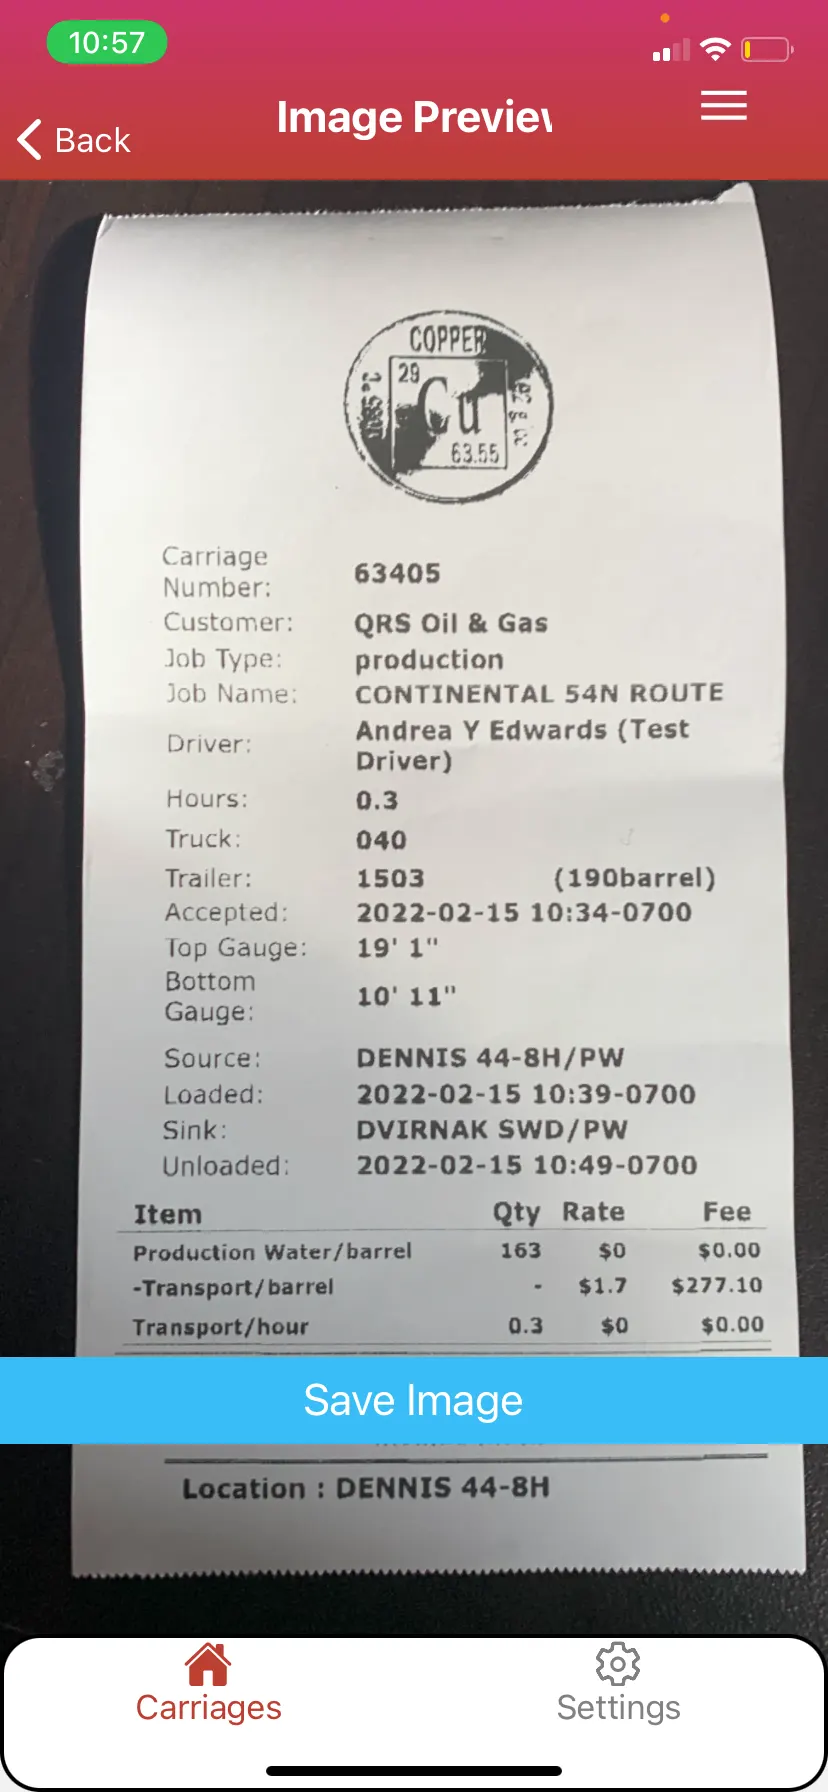
This will bring you to a print preview screen. Select Print Carriage in green at the top of the page.
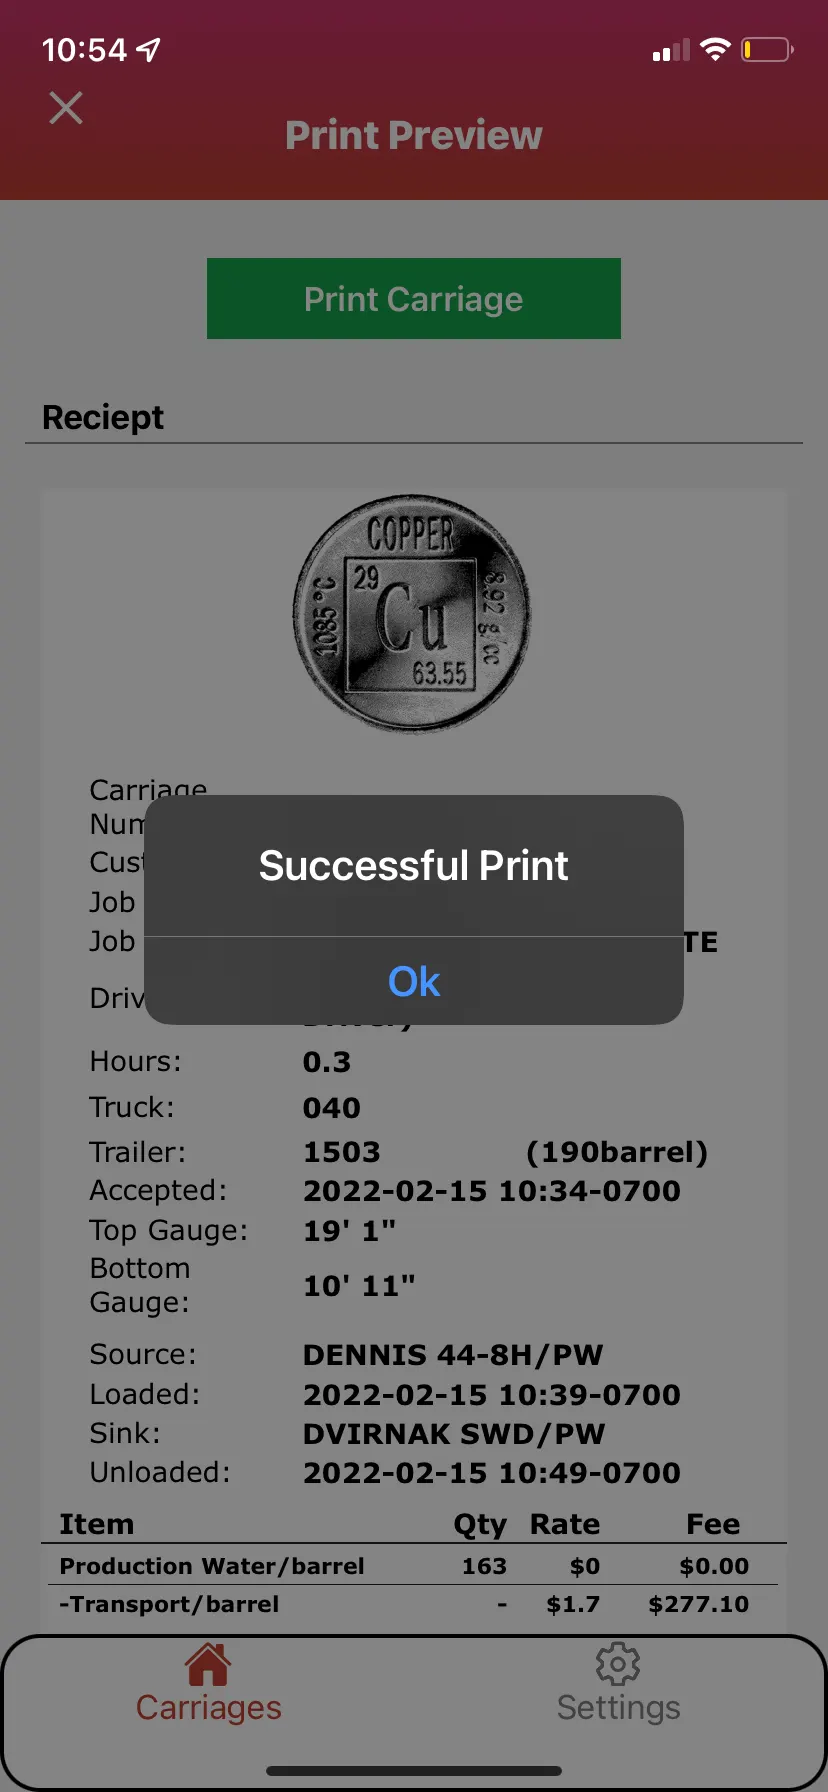
- A Successful Print will appear. Select Ok.
- Select the three lines in the upper right hand corner.
- Select Add Image.
- Take the picture of your ticket and select Save Image.
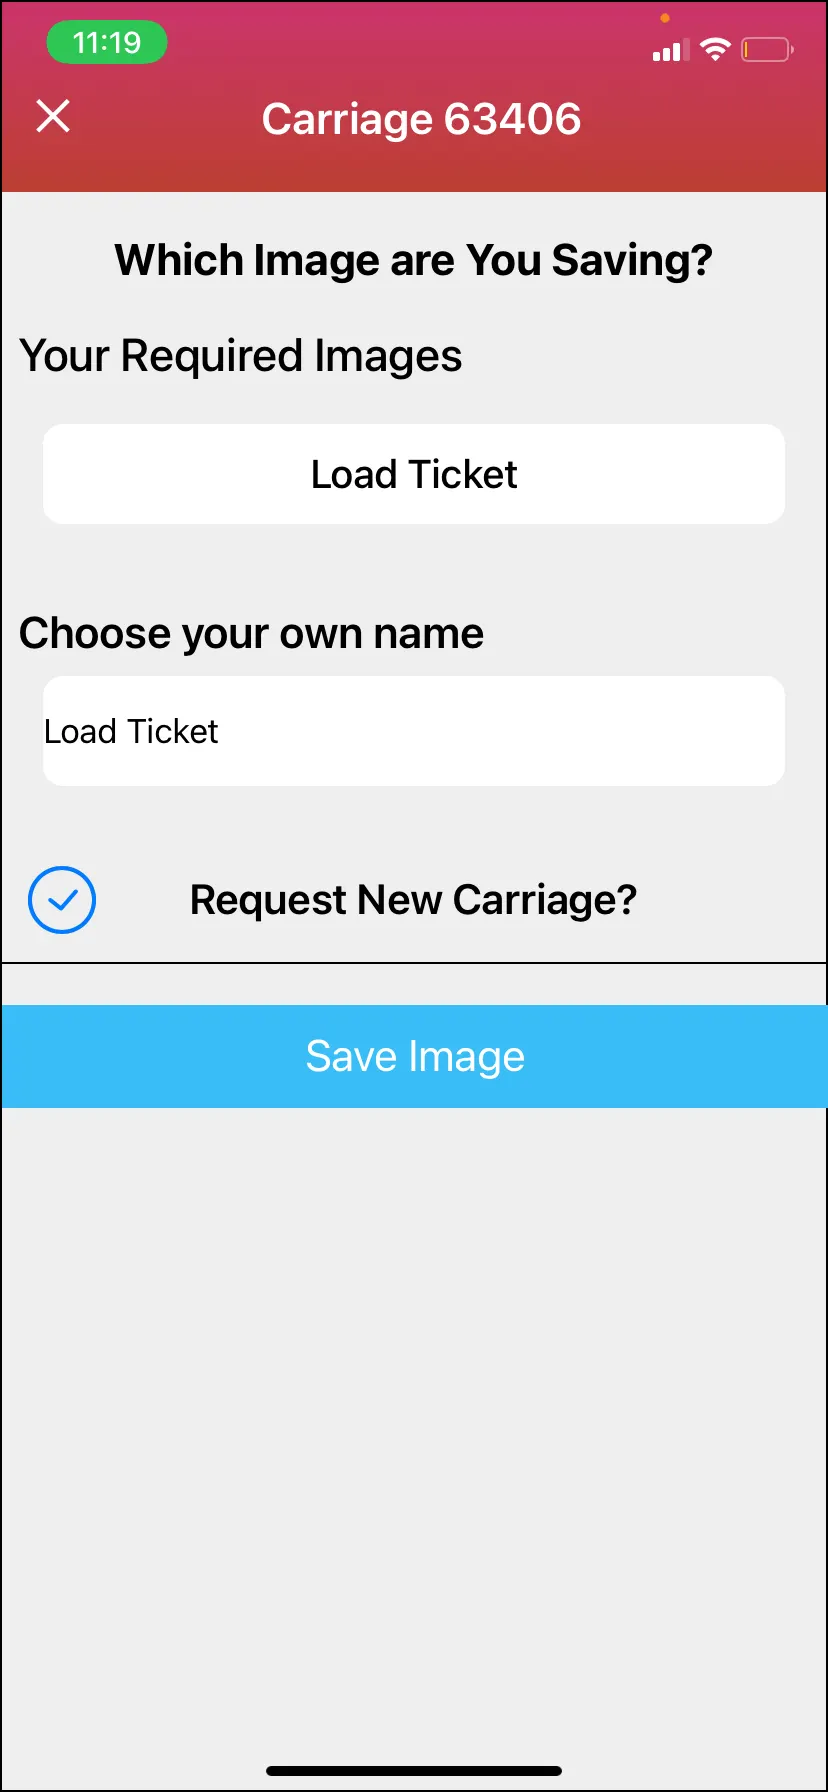
- Make sure the name of your ticket is correct and select Save Image.
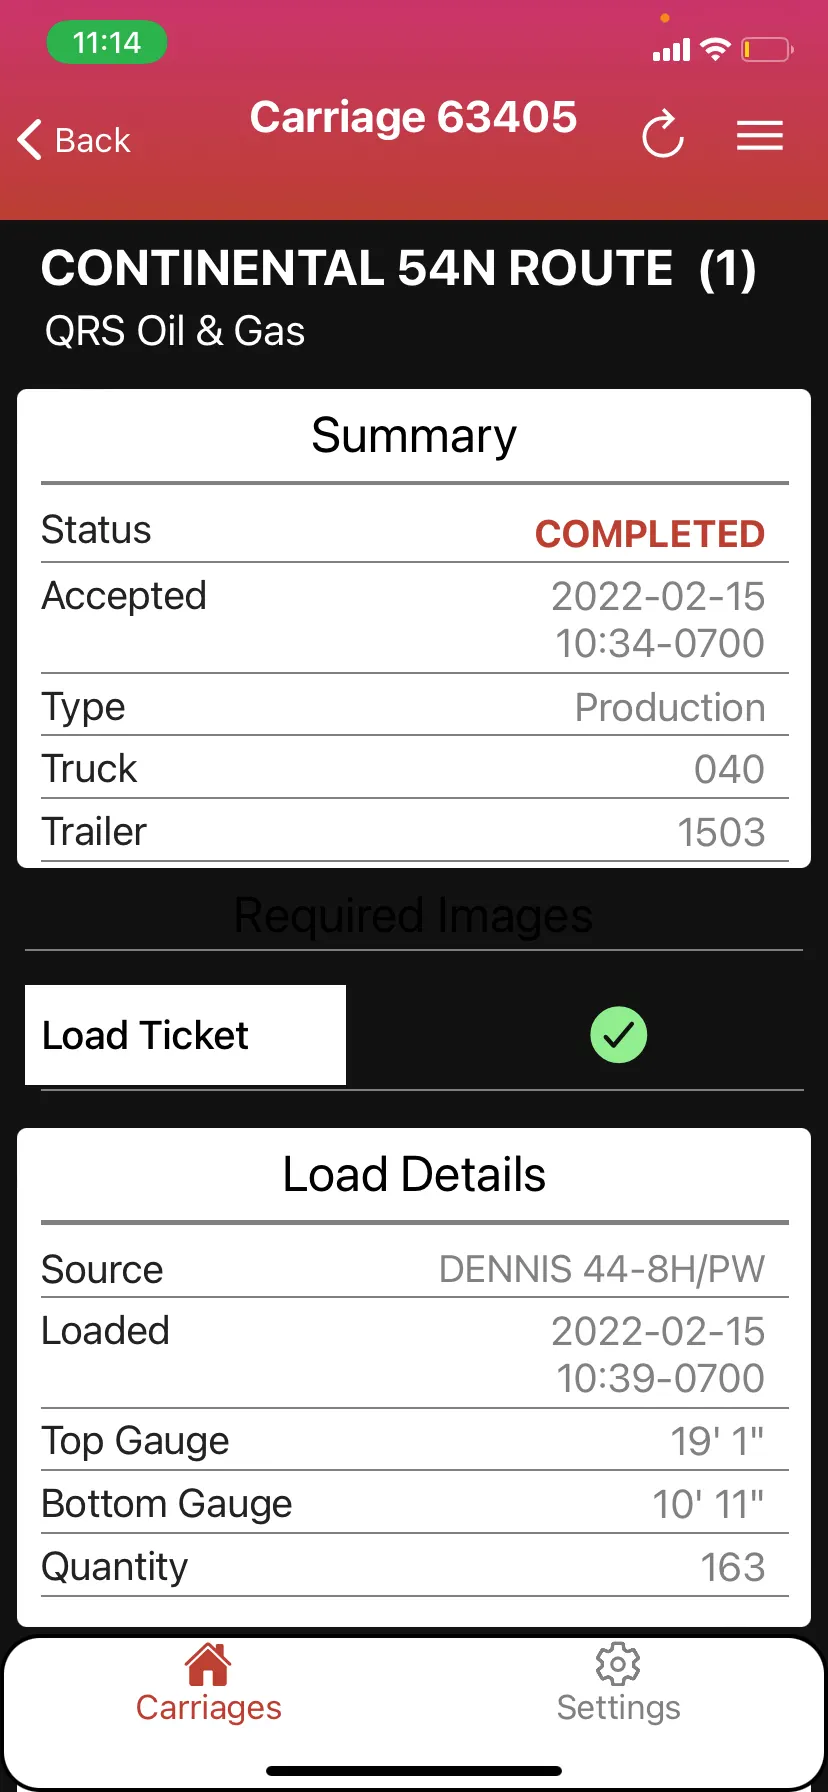
- Notice the green check mark next to your required images.
- The status has now changed to Completed.
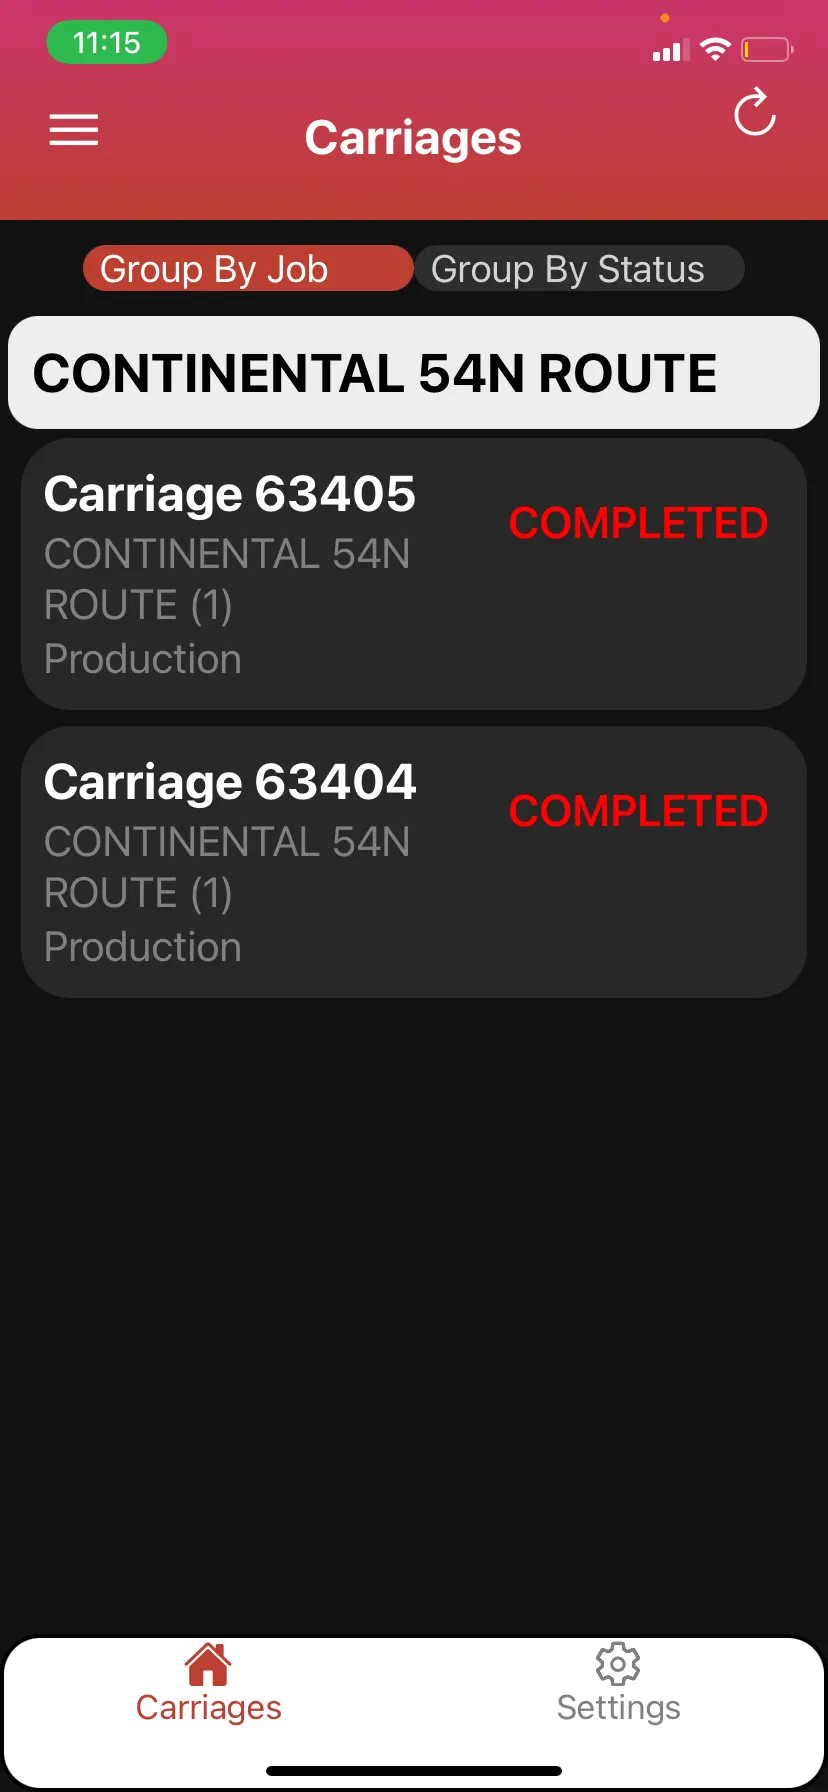
- And your carriage on the carriage page has changed to completed.