Enter your load data from the Eticket screen. The load must be accepted first. Then, continue by selecting Load Carriage at the bottom of the screen.
Follow these step-by-step instructions that include screenshots for help.
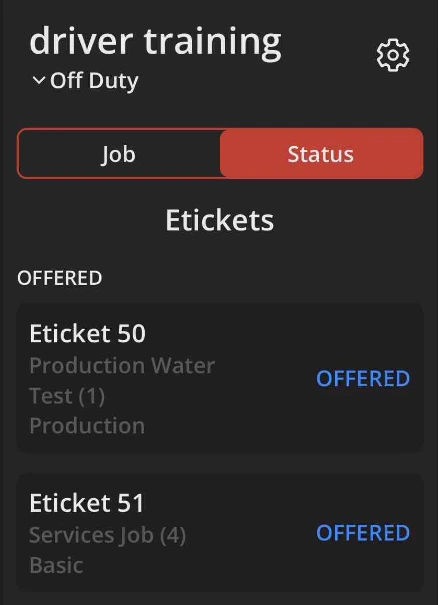
- Select the desired Eticket.
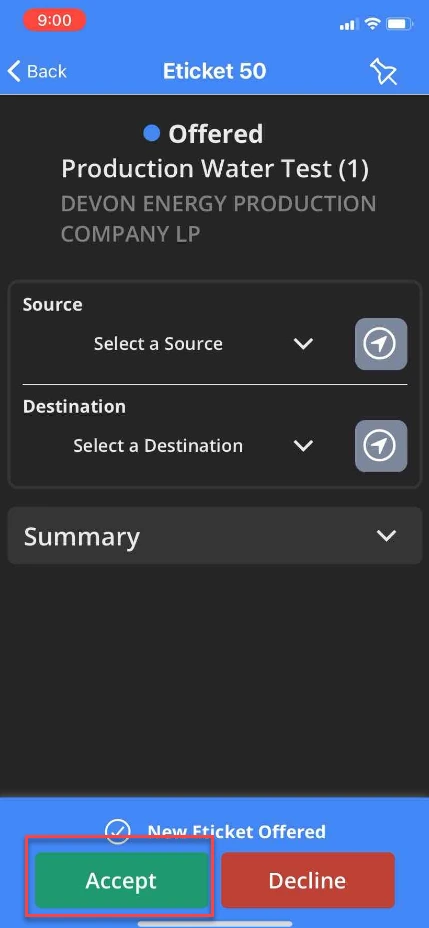
- Make sure the Eticket is accepted. If the Eticket is not accepted, use the accept icon at the bottom of the screen.
-
When the Eticket is accepted, Accepted will appear at the top of the screen. Select your source and sink.
- Select Load Eticket.
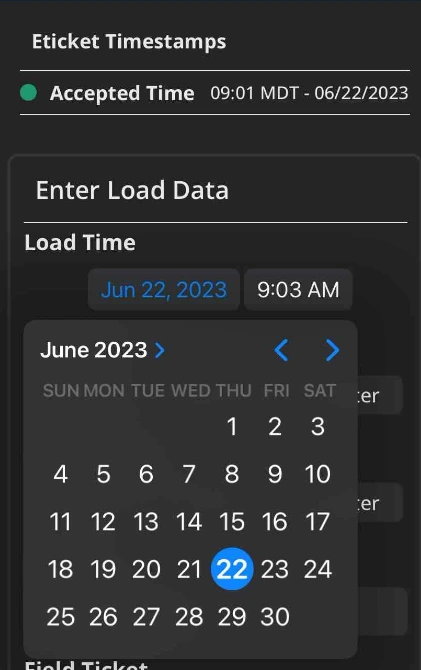
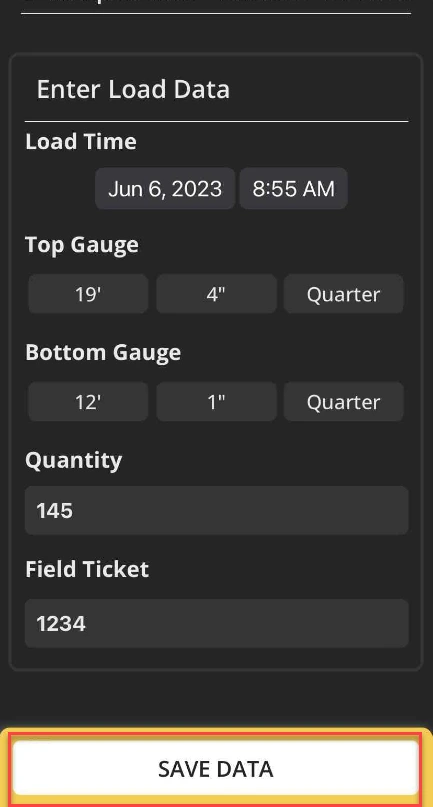
- Enter the load details. Select the date and time to change the Eticket Timestamp, if needed.
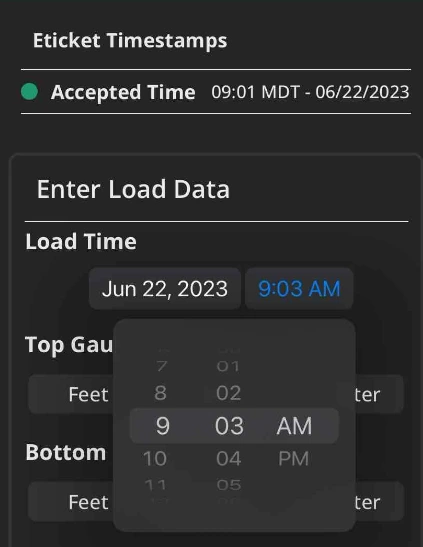
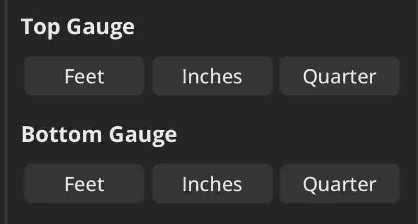
- Enter the top and bottom gauge.
- Simply tap on each detail and select the appropriate number.
-
Once the load data is correct, select Save Data.
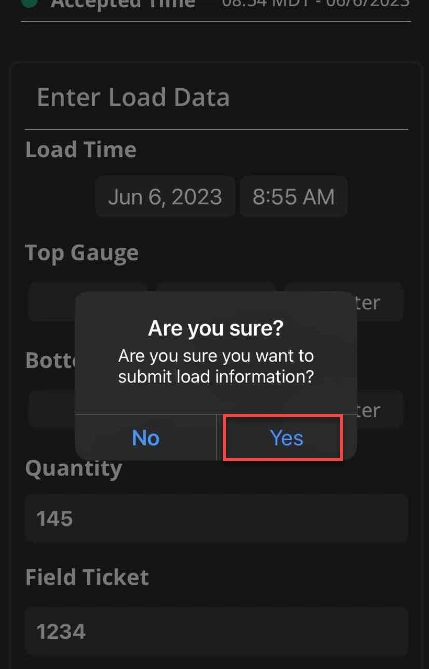
- If the load data is correct, select Yes.
- The load data is now saved to your Eticket. Notice the status change at the top of the screen and the Unload Eticket feature is now available.
